
My CNC Journey

I think with many things in life we see something at a particular moment in time and maybe don’t realize what it took to get to that point. It’s so easy to assume that a successful business has always been there or that someone skilled in their craft have always been “that good”. Most people might not understand that at some point that business probably started small and struggled to be successful and that person with an immense talent had failure after failure which eventually produced amazing results. Depending on how long we have been investing in setting up and outfitting our workshops it might be viewed as something similar to someone just getting started. Because of this I like to remind myself of where I was and kind of the path I took to get there. When talking about equipment for the shop it helps us make better decisions about further tool purchases. So I think I’d jot down and share the “journey” in relationship to me having a CNC machine in my shop.
A couple of years ago I was offered a commissioned job for a client that would require multiple exact pockets in some plaques to fit a commemorative coin. Before accepting the job I tried every method I had available to me. Getting one to fit perfectly was a challenge… how was I going to be able to do as many as they needed and all of them to be exactly perfect and identical? Well a CNC machine of course! I had previously thought that a CNC for a small one man shop like mine was completely out of reach until I had seen some people posting about these CNC kits that you assembled yourself. At the time the Shapeoko 2 from Inventables was $650 and incidentally the project that I wanted to take on I would earn $600. This is where it all started!

This might look a bit daunting to some but for others a mere challenge similar to legos or an Erector set from their childhood. Putting together and setting up the Shapeoko 2 was pretty straight forward and with minimal issues I was up and running and was able to knock out that first project for the client with the powerful rotary tool that came with it. I soon upgraded to a more powerful rotary tool and added dust collection.

I quickly realized that this not only added another capability in the shop for client work but also for making things for my shop. As with any kid with a new toy I tried to figure out what all I could get it to do. One of those first projects I made for the shop was a Longworth chuck for my lathe. This of course was only the first of many projects that I would incorporate the CNC.


By this point I realized that the CNC was a tool that definitely had earned its place in my shop and would more than pay for itself in the extra capabilities it provided. It was time to make a proper workstation for the CNC and I decided on a stand up wall hanging one which I designed to save on floor space. You can watch how I made it here and download for free the SketchUp model I made here.

Next I upgraded from the rotary tool to a palm router which really increased not only the speed I was able to run the machine but also the accuracy. 
This upgrade was short lived since Inventables released the X-Carve and also made available upgrade kits for the Shapeoko 2 owners. I was fortunate to be able to work with Inventables on a video showing how I upgraded my Shapeoko2 to the X-Carve (which of course you can watch here). I also increased the size of the CNC to fit the available space on the workstation.

The next step in my CNC journey was the realization that I needed a larger machine and so I decieded to once again upgrade my machine to the largest size that Inventables offers which is 1000 x 1000 mm. This of course also meant that a new workstation was needed. At the same time I was making these upgrades I was able to given the opportunity to work with Jtech Photonics and received a 2.8w laser which I installed on my CNC. You can watch how I not only installed the laser here but also how I was able to make a switch box to go between the laser and the router.

But, this was just another step in my journey as I was able to upgrade once again… but this time the X-Carve was destined for another shop and hopefully will work as hard and teach its new owner as much as it taught me about operating a CNC.

Before getting the new CNC I needed to design and build a work station that would improve on the last two while still incorporating some of the same features like the enclosed dust collection that the last one had and be able to fit this new larger machine.

Once the new work station was built I could start assembling the new CNC. I will admit that due to the design of this new machine the assembly was much easier than my previous experiences. I don’t think you can really compare this new machine to my last simply because of steel vs aluminum, belts vs acme lead screws for the linear drive, and a noticeable size difference in the stepper motors.
I didn’t even wait to be completely finished building this new CNC when I started adding some additional features like drag chains with custom made brackets, dust collection, 2.8w Laser, touch plate, and a few more bells and whistles.

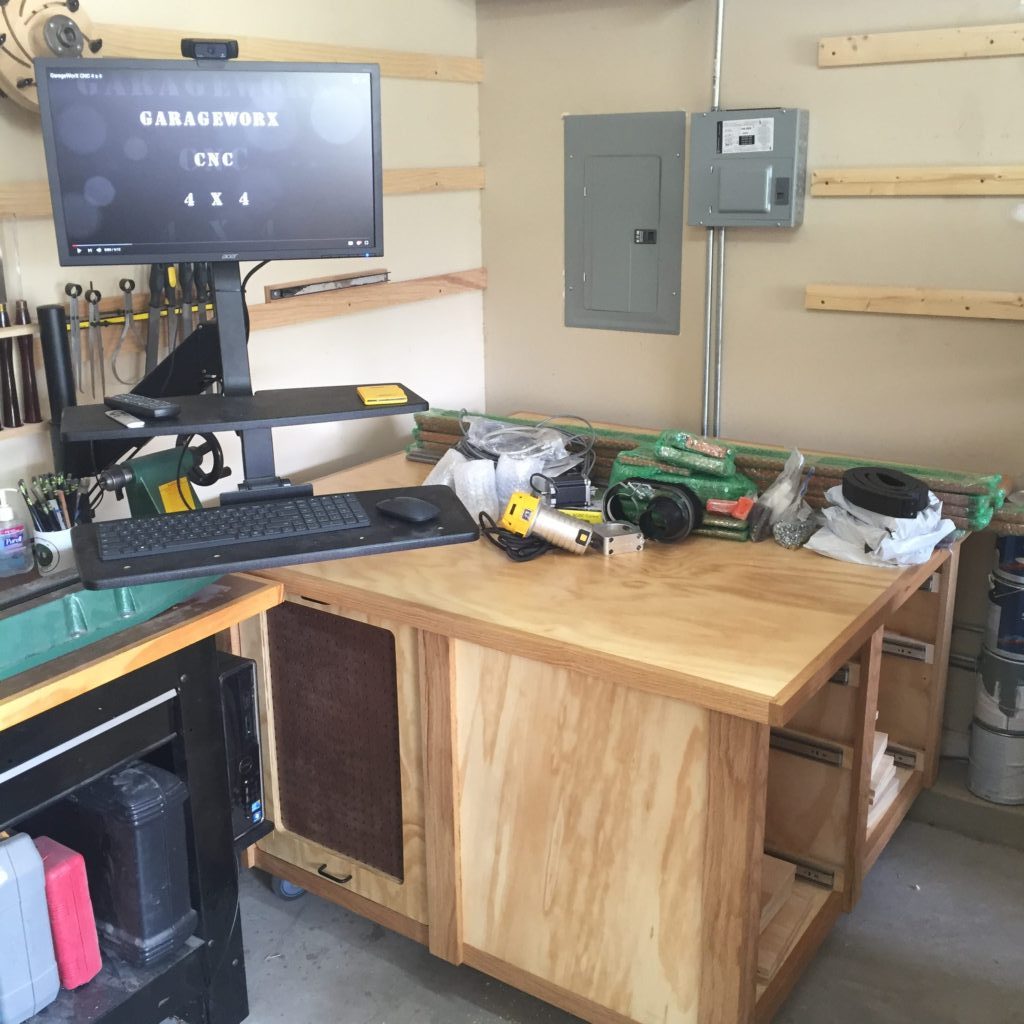
Needless to say I was pretty excited to welcome to my shop my newest shop assistant… the GarageWorx 4×4 CNC! This machine is designed and sold by Dave Gatton at www.garageworxcnc.com who has been designing and building CNCs for years. You can hear an interview with Dave conducted by Bill Griggs at the CNC Router Tips Podcast here. Dave hasn’t just designed several different CNCs constructed of steel but also several made from plywood. As someone who will still admit to being relatively new in the CNC game, I was surprised in how many not only Dave’s plywood CNC’s were out there but also others who had designed and built their own.
It might seem that there was some wasted time, effort, and resources to bring me from where I started to where I am now, but I can’t even begin to explain all the things I have learned along the way. With that being said if the GarageWorx CNC was available at the time and if I had the means to get it then it probably would have made more sense to shorten this journey just a little. But then you wouldn’t have this delightfuly entertaining and enlightening post to read. As I get a little more time with the GarageWorx CNC I will post more of my thoughts and opinions on it. I do want to say (because I have already been asked quite a few times), I did not upgrade because of what the X-Carve wasn’t… but what the GarageWorx CNC was and what additional size and performance it provided. As always feel free to contact me if you have any questions or you can leave comments here.
Back to the blog and so many updates!

You ever notice that from time to time life just gets going and before you know it eight months have passed? That is exactly how my blog here has felt. So much has happened over that time period and I miss posting on here so I will try and catch everyone up without boring you to tears. In my last post I talked about how it was time to get back to work on the Kitchen remodel and I am proud to say that before this last Christmas I was able to finish.

Well, maybe the kitchen project isn’t completely finished but I’m sure no one will notice that the island hasn’t been built and installed. I did finish and install the new drawers, shaker style cabinet doors, farmhouse sink, back splash, and hickory counter-tops. We also decided to upgrade the lighting in the kitchen while we were at it.

Shortly after the New Year I was able to work with JTech Photonics on installing a 2.8W laser on my X-Carve CNC Machine. This gave me the additional capability of being able to laser engrave on my wood projects. If you missed the build video you can watch it HERE.
The next few months were a blur of commission projects for clients, traveling with my day job, and making a few much needed shop improvements. Some of the shop improvements I made other than the upgrades to my CNC were adding a Grizzly T25555 Riser Block Kit to my Grizzly G0555LX Deluxe Bandsaw, 14-Inch
. I also made a short video on how to install the riser block kit.
This doubled the capacity of the band saw and allowed me to be able to resaw lummber up to 12 inches. Another much need increase in capacity was my chip separator for my dust collection system. I had the ONEIDA AIR SYSTEMS Super Dust Deputy on a 30 gallon trash can for quite some time but it would fill up so fast especially if I was milling up a lot of lumber.

The ideal way to handle the amount of dust and chips my shop creates would be to exhaust them outside but since I’m not about to cut a hole in a wall and I don’t think my neighbors would appreciate me sharing I just opted for a larger container. I was able to get a used 55 gallon drum and clean it out and then ordered a metal slip cover for it and attached the Super Dust Deputy. I will eventually add some handles and maybe a dolly to be able to empty it a little easier.

I am still trying to get to as many commission projects as I can and I always appreciate the understand and support I get from my friends, family and clients. The American Flag Coin Rack is still my biggest seller but I also get the chance to work on some different projects from time to time. One of my friends had purchased a Cypress cookie table coffee table that was pretty old and the finish was in bad shape. To compound the issue, whoever had originally finished the table top had used wood putty to fill the voids cause by drying the lumber to fast. I was able to remove most of the wood putty and fill the voids with crushed turquoise and then refinish it. You can see in the picture the difference in the finish looking at the coffee table top and a matching end table top.

Well before I get to rambling about each of the projects I did over the last 8 months I do want to mention that you can keep up to date on even the projects I don’t either write about here or do a video on my YouTube channel over on my Instagram page.
One last thing I did want to pass on is a great opportunity that I was recently given by Jon Berard over at MakerCast – The Podcast for Makers. I was my honor to be interviewed by him on his most recent episode and you can listen to it either on iTunes or HERE. While your there check out all the other great makers he has interviewed and subscribe so you wont miss any future ones.
Time to get back at the kitchen remodel

As some of you might remember about eleven months ago I built new upper cabinets for my kitchen as part of the remodel my wife and I had planned for our home. If you missed it you can watch the video here… Kitchen Cabinet Build. Now almost a year later the kitchen is in about the same condition as when I made the video. There are still no doors on the upper cabinets and the drawers and doors on the lower cabinets are the original ones. The counter tops is also still the laminated one that came with the house.

Since it is coming up on the first anniversary of the upper cabinet build I figure I better get back to work and finish up the kitchen hopefully before Christmas. So other than the doors, drawers, and counter tops that still need to be done, we still have to come to some type of agreement on the back splash. I’m sure to anyone that is married it comes as no surprise that there might be a little difference on the opinion of said back splash. Since I am trying to keep the style of the kitchen in close-ish shaker style, I want to use wainscoting as my material of choice. This way it will be painted to match the cabinets and allow the hickory counter tops to really stand out. My beautiful wife isn’t sold on that idea and thinks that it might be to much white and suggests we look at some tile options to introduce some color into the space. I think the tile we put down on the kitchen floor brings more than enough color to the area.

Of course being the wise woman that she is, she suggested course of action that would let us compare each option. I am going to finish the short section of counter top between the stove and the fridge and then we can use that as a test section to see which of the back splash materials looks better. I of course was recently reminded that I need to make that section of the counter top before we can compare… so stay tuned and here shortly we will post pictures of both options. In the mean time leave a comment of what material you think we should use. I love to hear what you think.